
Installing a water softener is not as difficult as you would assume: Guidelines for Configuring It
The term “hard water” refers to water that contains a lot of dissolved minerals, such as magnesium and calcium. The taste of drinking and cooking water may change, fixtures like sinks and toilets may get discoloured, and equipment like washing machines and hot water tanks may become severely damaged. So how to install a water softener? Here are the options for you.
Equip the switch to bypass the circuit
The bypass valve found on most water softeners enables the water supply to be withdrawn from the unit for maintenance purposes without interrupting the flow of water into the house. Water entering the unit is managed by one valve, while water that has been softened and released into your house is managed by another. Once the valve is inserted into the appropriate port on the rear of the control module (the box with the LCD display screen), secure it in place by clamping it.
Cut Off the Water’s Flow Find your home’s primary water shutdown valve and turn it all the way anticlockwise. You may simply turn on the sink faucet and keep it open until the water stops flowing in order to empty the water from your home’s pipes.
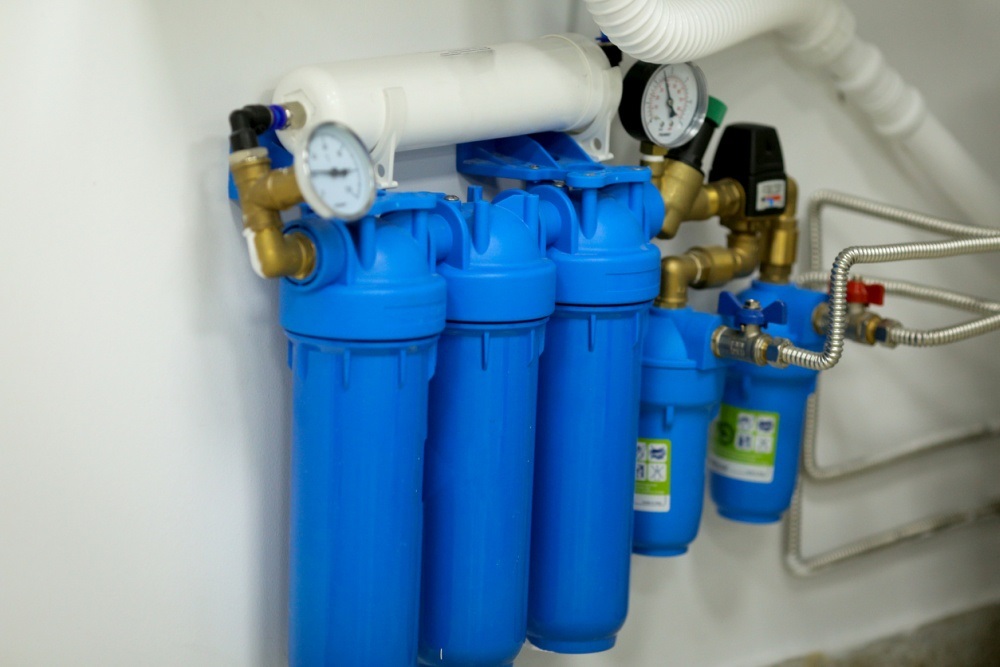
Connect the Water Supply Line for Use
The most typical method of connecting a water softener to a house’s main water supply is by hard-piping using copper or PVC pipe, although flexible supply lines, such as those used for hot water heaters and washing machines, are also an alternative. The kind you choose may be determined by things like local construction regulations, the type of pipe used for your home’s main water supply, or your own preferences.
It is necessary to fill the tanks before attaching them.
Using the supplied tubing and clamps, connect the mineral tank to the brine tank. To fill the brine tank with water and sodium or potassium chloride salt, according to the manufacturer’s instructions.
Group the Drain Pipes together.
The majority of water softeners need an overflow drain, which is linked to the brine tank and prevents the tank from overflowing, and a drain line, which transports the waste water from the mineral tank during the backwash cycle. Nevertheless, the tubes are not linked to each other, even though they both travel to the same drain. After attaching the tubes to each tank, send the tubes to a drain that is open.
Adjust the Water Pressure as Needed, then Turn on the Machine.
Turn on the main water supply valve in your house to the 1/4-open position to let any trapped air out of the line. Air pressure will drop as a consequence. Open the main water valve partly to start filling the mineral tank until a continuous stream of water enters it without making any hissing noises (which would mean air is still escaping).
Switch on the control module of the device by plugging it into a working electrical outlet. Use the touchscreen interface to choose the appropriate water hardness level and time to turn on the device.
Conclusion
A backwash cycle is advised in order to remove any residual air and free any resin beads that could be stuck in the mineral tank. Verify that there are no leaks in the plumbing connections or lines when the backwash cycle is in operation. Following the completion of the cycle, the brine tank should be inspected and the brine solution should be adjusted as necessary.


